sculpting fossils

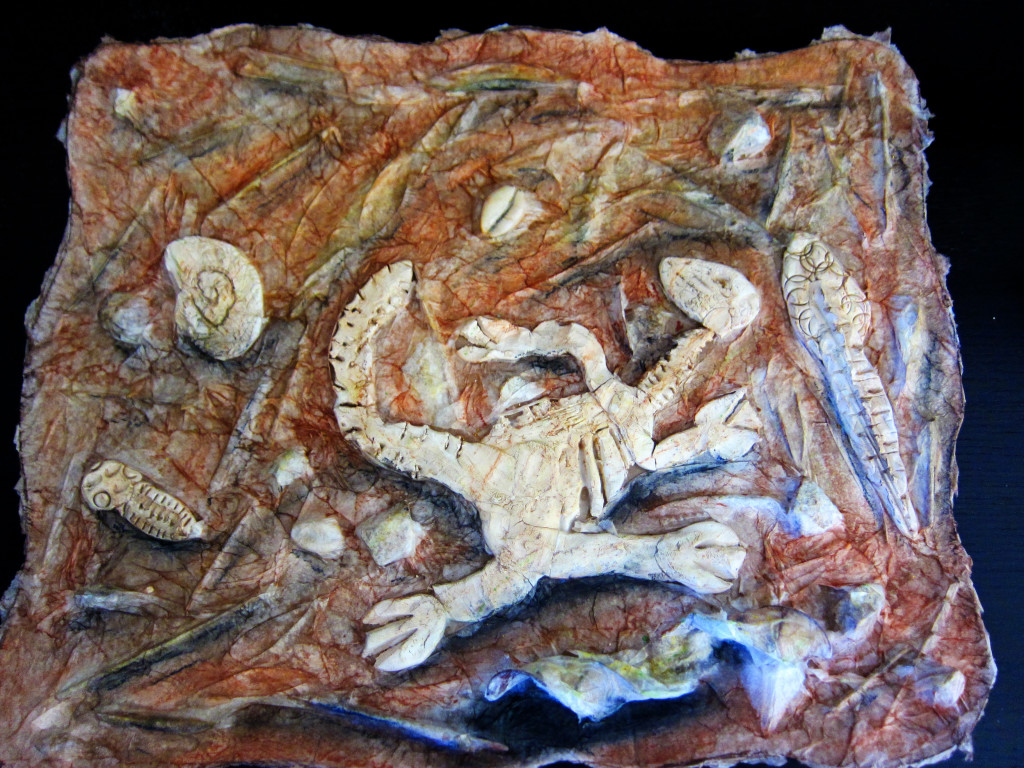
Since the chances of us finding real fossils in the ground are pretty slim – this art project combines both history, geology and art all together in this creative activity.
We were studying the dinosaurs in our Mystery of History Volume I: Creation to the Resurrection and I remembered that I saw this great lesson plan for “FANTASTIC FAUX FOSSILS” on the Dick Blick website. They have FREE art lesson plans for educators for all grade levels and abilities complete with supply lists, online videos and PDF step by step instructions.
Around this time we had also visited the Arizona Natural History Museum in Downtown Mesa on their Homeschool Day! What a fun place – scorpion puzzles, gold panning, mine exploration, dinosaur exhibits, paleo dig pit, Hohokam village, five C’s etc…. can’t wait to go back.
This is a multi-step project but you can look for found objects while you are waiting for your clay to air dry – might take 24-48 hours depending on how thick your fossils are.
What do you need?
- cardboard or heavy art board substrate
- air-dry clay (white)
- found objects – sea shells, seed, seed pods, sticks, leaves, rocks, beads etc.
- chalk pastels
- white glue
- thick bendable wire
- tissue paper
- foam brush
- soft bristle brush
- photos of real fossils if desired for reference
Simplified instructions:
We adapted our steps to suit what we had on hand.
- using your clay, create any fossils, dinosaur bones that you wish to make – let thoroughly air dry
- go on a hunt for found objects that can look like natural objects fossilized in time
- arrange your objects and your fossil creations as you wish on your cardboard substrate
- coat the entire thing – bones included with a white glue diluted with water – and paint with a foam brush
- layer pieces of tissue on top and press down around the 3-d forms really well.
- keep doing this until the entire board is covered with tissue and your fossils are really popping out interestingly under the tissue
- you can expose some areas if you wish too – like they are poking out of an excavation site (you can see how Pebbles did that above with the mini-dinosaur)
- let totally dry (might need another day)
- next – take your earthy colored chalk pastels and rub on the tissue creating areas of light and shadow – you can use a soft brush to blend the chalk into smaller spaces
- when you’re done – spray in a well ventilated area with matte fixative – let dry
This was one of Pebbles’ most favorite art projects and is well worth the multi-steps over a few days. Have fun!


