needle felting: MLP Pegasus
We discovered needle felting last year when Pebbles found an adorable guinea pig kit at Rainbow Resource. A friend casually mentioned the idea of needle felting into a silicone mold last summer and when Pebbles showed me the kit it reminded me about this intriguing craft. Christmas wish lists were being generated at the time so we checked out the kits and there were scrumptious hedgehogs, penguins, kitties and more. We both wanted to run out and make them ALL but… they weren’t cheap! Started researching at the Library and on YouTube more about the art of needle felting and turns out that it’s a fairly new craft. Started in the 80s? I believe. In craft terms, that’s young.
After many books we compiled a list of supplies to buy so that we could make whatever we wanted and not be limited to one pricey kit per creature. The books showed basic techniques on how to make certain shapes like legs, bodies, ears etc. but was still a bit unknown. Could barely wait til Christmas day for her to open her box of gorgeous New Zealand Corriedale wool roving, scary sharp barbed needles, foam pad, finger protectors and more. And yes… I keep saying ‘we’ because I couldn’t wait to make cute critters too. 😉 To buy all of the tools and wool in various colors ended up to be a touch costly, but will last a while and be able to produce far many more fun crafts than if by kits alone.
Her first project was a baby penguin.
Second project was a wolf without armature.
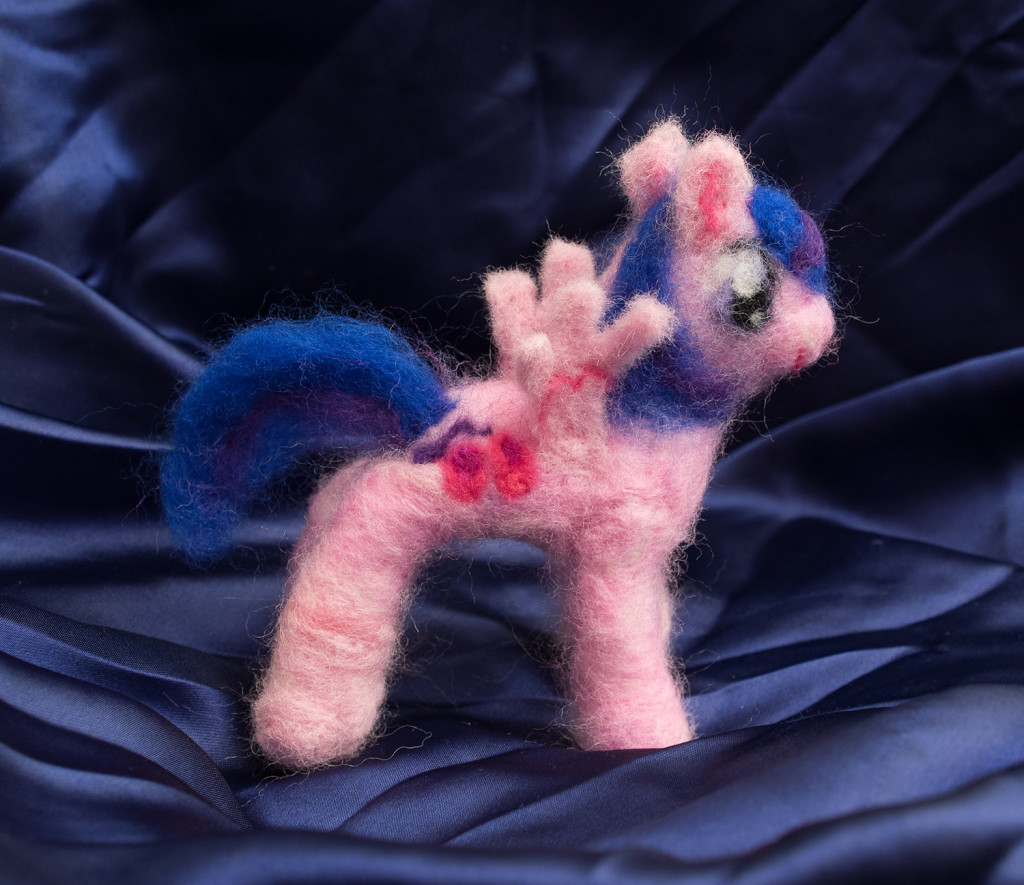
Third project was to be a gift for her friend – her very own customized MLP Pegasus with armature.
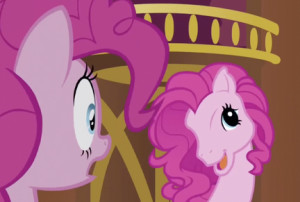 My daughter and her friends are really still into My Little Pony right now – well, for her own experience – has been a long interest since her toddler days. I remember MLP when I was young…. isn’t it interesting that they have been redesigned 2-3x significant times since then? (In fact, there was been multiple subtle generational changes after some research.) The MLP of Pebbles toddlerhood is now a more adventurous, tween version that appeals to the same girls as they are aging. A resurgence of new marketing came with the Equestria Girls series… gotta hand it to them to think of new ways to reinvigorate a product to an audience that may have been ‘done with it’ with the years. I laughed so hard during this episode of Pinkie Pie presented with her ‘old self’ ! You can see how the last generation MLP was way more horsey. Anyway, I digress.
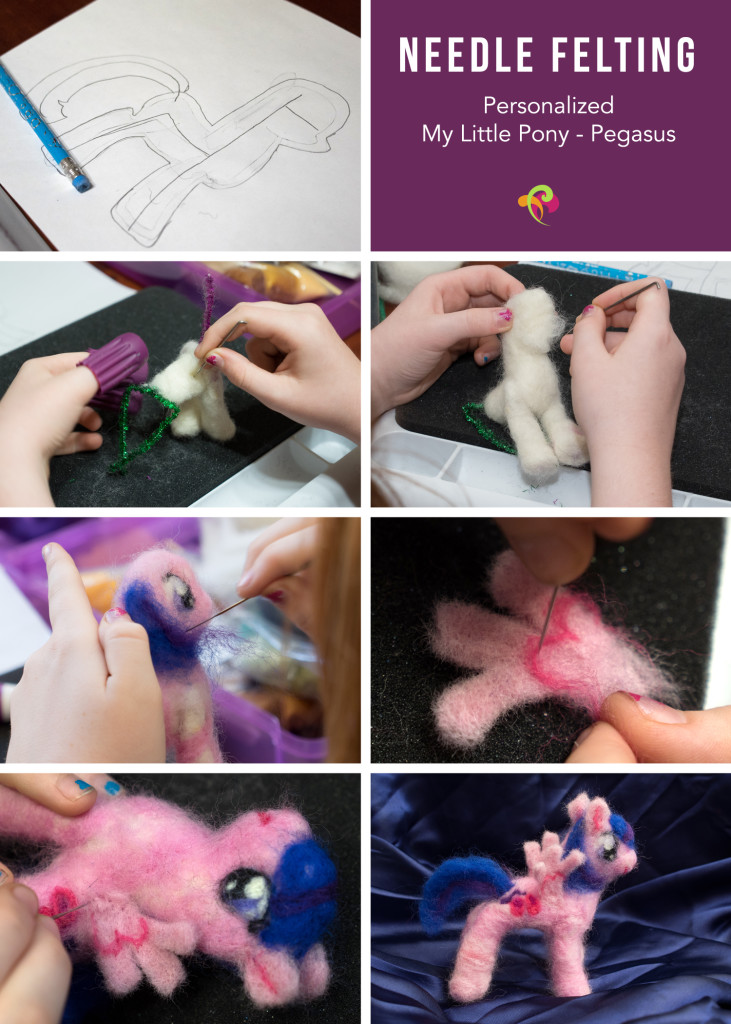
Here is how Pebbles made her friend’s Pegasus pony with her own cutie mark, colors etc. (She and her friends I hear all have their ‘own’ pony persona that they draw and stuff that are not right out of MLP world.) She worked on it totally by herself over three days. In hours…. maybe 9-11 hours +/-. We were blown away by the end product – and for being on her third needle felting project EVER.
Character lesson – not being afraid to do something from scratch with no instructions to follow, having the perseverance to not quit, having the focus to not stab your fingers (!! seriously, these needles are dangerous) and being generous to give it away after the hours creating it.
SUPPLIES:
- finger guards (even though cumbersome, try to use when possible. if not be careful!!)
- barbed felting needles of different gauges
- pipe cleaners (doesn’t matter what color they will be covered up)
- light pink wool roving **
- dark hot pink wool roving *
- royal blue wool roving **
- purple wool roving **
- black wool roving **
- white wool roving **
- felting foam pad to protect your table
** Corriedale wool roving is very nice ! Merino is nice too but can be tougher to needle felt I read.
INSTRUCTIONS:
- STEP 1 – making an armature out of pipe cleaners
- STEP 2 – wrapping the wool roving around the pipe cleaners and ‘needling it’ with the barbed felting needle for a long time until it becomes afixed and solid
- STEP 3 – when armature totally covered, adding body volume, legs, neck, body parts
- STEP 4– when happy with the body shape, covering the underfelt body with the ‘colored’ roving (the colors are pricier and come in smaller amounts so is more cost effective to use plain white or black for the body base. HOWEVER…. she found that covering the body with the pink roving was very time consuming. You can just make the whole thing with one final wool roving instead and save some extra steps we think.
- STEP 5 – add the eyes carefully with many layers of white, black and purple wool.
- STEP 6 – add main. Keep it ‘long’ and needle only the attachment zone and affix it in spots along the body as needed
- STEP 7 – make two ears on foam matt and accept with thin hot pink wool – needle very very carefully. Affix to head with more needling. Add more details such as mouth.
- STEP 8 – design and make cutie mark with different colors – needle more
- STEP 9 – affix tail as in same manner of the mane
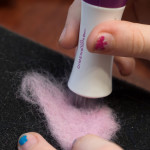 STEP 10 – wings are made by making a rectangle out of wool and needling it with a multi-needle tool. flip it over and over so it doesn’t stick to the foam matt. Then when thick enough, cut it with very sharp scissors to shape. Put two rectangles on top of each other and cut once – so are the same shape and size! * the only time I helped was the wings needed to be thicker as they were so delicate, once thick she was off and running again!
- STEP 11 – add accent feathers with thin roving pieces and affix to the body carefully with more needling
- STEP 12 – cut, trim away any fuzzies – if you wish
Hope you enjoyed the how-to ! If you’re interested in what supplies I purchased for needle felting in general I can compile a list. I ended up buying the roving off of a lovely women on ETSY. Her wools is sooooo soft compared to what you’d get at Hobby Lobby or Michaels!! She is starting her own direct sale website and leaving ETSY so I’ll have to find out what the new web address will be.


